I wasn't sure what else to call these. This one above was the first thing that I couldn't show you before as it was inside my sister-in-law's Xmas present. The other two are for my children on their coats. You may recognise the fabric for Povey's one from the top I made him a while back.
I made the badges by choosing an image from fabric and cutting it out very roughly. I cut a piece of felt the same size and then sewed the two together using a zigzag stitch. I sewed round about halfway and pushed in some stuffing before completing around the shape. I then zigzagged around three or four more times and cut it out close to the stitching. A safety pin sewn to the back turned it into a badge.
Wednesday 31 December 2008
Little puffy badges
Posted by Tequilamonkey at 20:03 0 comments
Monday 29 December 2008
Xmas bags
Here are my family's presents all ready for them in fabric gift bags rather than wrapping paper. I originally planned to make these bags for everyone but only got the free time after Xmas so made them for my parents and brother and sister-in-law who we're not exchanging presents with until tomorrow.
You'll have to wait to see what I made for inside these ones, just in case my family spots my blog before we see them ;)
I found the tutorial to make the gift bags here. They are so easy to make and look and feel lovely. My aim is to do this for all presents throughout the year from now on. I may not manage it for every present due to lack of time but I'm going to try my best. I just think they're so much nicer than paper as they're like part of the present themselves. Of course they're more environmentally friendly too as they're reusable!
Thursday 11 December 2008
Salt dough
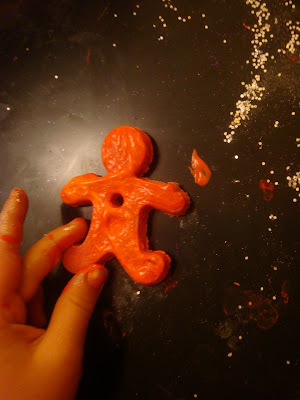
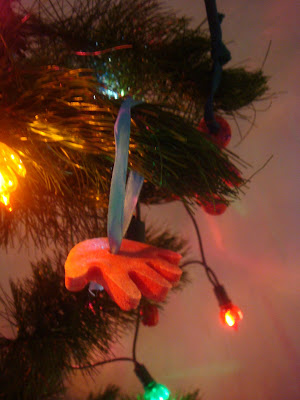
Xmas stuff is finally getting going in this house. I decided the children were old enough to attempt some salt dough decorations this year and found a recipe here*.
Salt Dough Christmas Ornaments
Ingredients½ cup salt
1 cup flour
½ cup water
a few drops food colouring
Instructions
1. Pre-heat oven to 120 degrees Celsius (250 Fahrenheit).
2. Mix together, salt, flour, water, and food colouring until dough is formed.
3. Knead the dough on a floured surface until the mixture is elastic and smooth. If dough is too sticky, sprinkle with flour, continue to do so until stickiness is gone. Do not add too much flour, this will dry out the dough and will cause it to crack before you get a chance to bake it.
4. Roll out the dough to about ¼” thick with a rolling pin that has been dusted with flour.

5. Use cookie cutters to cut out whatever shapes you want.

6. Use a straw to cut out a little hole in each one... the straw will make perfect little circles.

7. Place all shapes onto an ungreased cookie sheet and place into the preheated oven.

8. Bake for 2 hours.
9. Remove from oven and allow to cool completely.
10. Paint however you like.. you can even add glitter. The food colouring means you don't have to paint them if you don't want to. Allow to dry.


11. Seal with a final coat of pva glue or varnish. This seals in the glitter and means they will last longer.

12. Thread ribbon through hole and tie in a knot to make a hanging loop.


We had lots of fun with this, and even made enough to give some as presents!
*as an aside I wrote this afew days ago, but was waiting on the photos. Before I got a chance to post it Poppy Mom posted the same recipe on her blog.... and she uses a straw to make the holes too!
Posted by Tequilamonkey at 11:27 0 comments
Labels: baking, red, salt dough, xmas


.jpg)

+mocha+proof.jpg)

